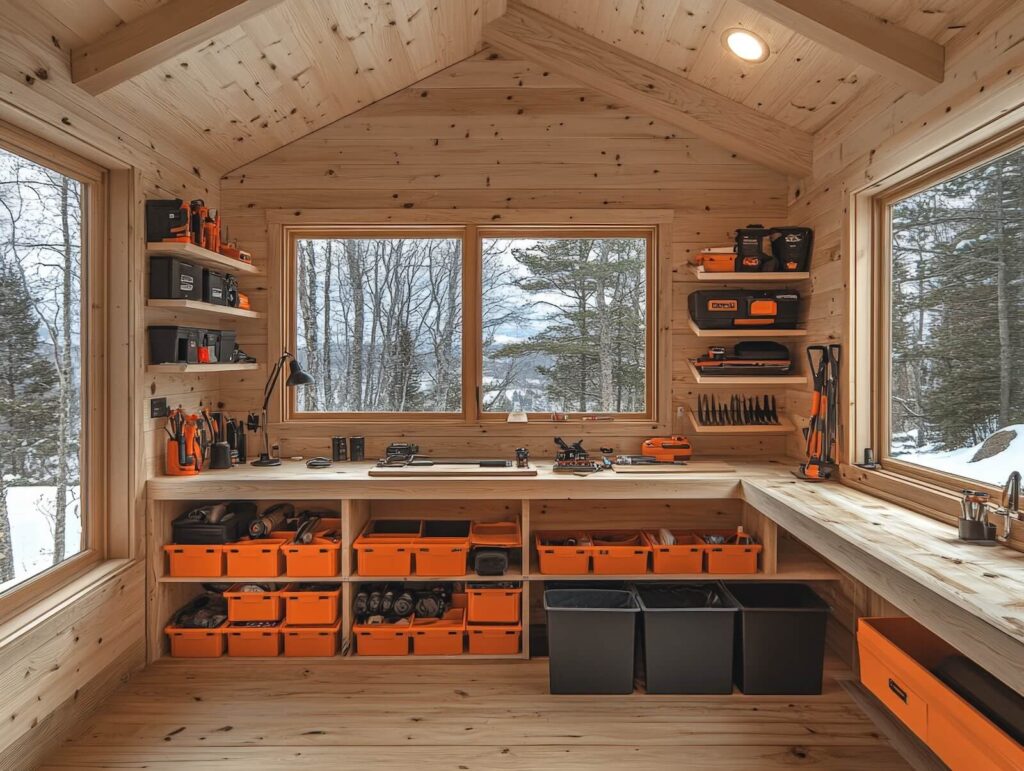
An organized and decluttered tool shed saves time, protects your tools, and maximizes your workspace. When everything has a designated place, you can cut back on inefficiencies, allowing you to find what you’re looking for right away. Proper storage, such as storing in a dry and cool environment, can protect and extend the lifetime of your tools. Here, we will take you through everything you need to know to transform your shed into a well-organized workspace.
Step 1: Declutter and Take Inventory
Decluttering is always the first step because you can’t organize until you know what you’re keeping and what you’re getting rid of. First, remove everything from the shed. Sort items into four categories: keep, sell, donate, and recycle/discard. Deciding what to keep can be tough, but it’s important to analyze whether the item in question is something you truly need or use.
If an item is in disrepair or hasn’t been used in a long time, put that item into one of the other categories. Items that may have some value should be placed in the sell category, while items that could still be useful but aren’t sellable should go in the donate category. Everything else, from junk to broken items, should go in the recycle/discard category. Make sure to properly discard items, such as lithium batteries and other flammable or toxic items.
Step 2: Plan the Layout
How do you know which layout will work best? There are a few tricks you can implement to create an efficient layout. Frequency of use is important. Consider which items are used most often, such as a drill or tape measure. These items should be easily accessible. For all the other tools, organize them in a way that makes the most sense to you. For example, you can put all the garden tools in one section and carpentry tools in another.
Also, think vertically. Many sheds have limited floor space, so take advantage of walls, shelves, and even the ceiling. Keeping items off the ground will free up valuable room for larger equipment like a lawnmower or workbench. If planning the layout seems like too much, a professional organizer can help. Professional organizers cost less per hour than you might think.
Step 3: Install Storage Solutions
Wall Storage
Wall space is one of the best ways to keep tools organized while still being easy to access. Install a pegboard to hang frequently used hand tools like hammers, pliers, and screwdrivers. Use hooks and racks to store larger items such as rakes, shovels, and ladders. This keeps them upright and out of the way while still within reach.
Shelving & Cabinets
Sturdy shelves help keep containers, power tools, and other supplies neatly arranged. Place commonly used items on lower shelves and store less frequently used equipment higher up. If you have hazardous materials such as paint, chemicals, or gasoline, lockable cabinets are the safest storage option to keep them out of reach of children or pets.
Workbenches & Drawers
If space allows, consider adding a workbench with built-in storage. This provides a dedicated workspace for projects while keeping tools organized. To avoid rummaging through messy drawers, use drawer organizers for small items like screws, nails, and drill bits.
Bins & Containers
For seasonal or rarely used items, label plastic bins and store them neatly on shelves. Stackable bins are great for maximizing floor space while keeping items sorted if you can’t store everything on a shelf. Choose clear bins if you want a quick visual of what’s inside, or use color-coded labels for easy identification.
Step 4: Implement a Labeling System
Labeling everything is a must. Otherwise, all the organization you’ve done up until now will be for nothing. Label shelves, bins, and drawers with anything from painter’s tape and vinyl stickers to labels made by a label maker. You can use a color-coded system to identify a bin easily. A color-coded system can make it even easier to find what you need. For example, use red labels for electrical supplies, blue for plumbing tools, and green for gardening gear.
For an extra level of efficiency, create an inventory list that maps out where everything is stored. This is especially useful if you share the tool shed with others or tend to forget where things go.
Step 5: Maintain Organization
Decluttering and organizing your shed will improve efficiency when taking on a new project, but it only works if you return items to the right place when you’re done. If you’re in the habit of leaving items behind or stuffing them in whatever bin is available, track any items that you’ve checked out. Analog users can use a whiteboard for tracking, while those more tech-savvy can use an app like Notion or Airtable.
Despite your efforts, clutter tends to build over time. Regularly declutter the space and reassess which items need to stay behind. While it’s too much to do this every time you walk into your shed, schedule some time once a month or once a season to maintain the space.
One of the best ways to maintain organization in any space is to use the “one-touch rule.” This rule basically means don’t set things down to put away later. Make a concerted effort to put the item where it belongs instead of setting it down on your workbench.
A Well-Organized Shed is a Functional Shed
An organized tool shed isn’t just about keeping things neat — it’s about making your workspace more efficient, extending the life of your tools, and ensuring that every project starts on the right foot. By decluttering, planning your layout, installing smart storage solutions, and maintaining a labeling system, you can create a tool shed that works for you, not against you.
The key to long-term success is regular upkeep. Set a reminder to reassess your shed every season and adjust your organization system as needed. The more you commit to keeping things tidy, the easier it will be to stay organized in the future.
Ready to take control of your space? If organizing your shed feels overwhelming, Clutterless Home Solutions is here to help. Our team specializes in customized home organization strategies that fit your needs. Contact us today and transform your shed into an efficient, clutter-free workspace!


