Hi, friends! Welcome back to our Organize Your Entire Home in 20 Days series!
You’ve already done an amazing job tidying up your entryway, coat closet, kitchen cabinets and counters, pantry, living room, and dining room. Now that the common areas are in order, it’s time to move into the bedrooms — starting with the kids’ dressers and closets.
This is the perfect opportunity to get your children involved in the process. Teaching them to make decisions about their belongings now will help them build good habits for keeping their spaces tidy in the future. Younger kids may struggle to let go of things, even if they don’t use them, so be patient. A favorite old t-shirt that no longer fits might not seem practical to keep, but instead of storing it away, consider a creative alternative — one of our clients framed a beloved shirt so their child could enjoy it without it taking up space in the closet.
Clear It Out
The best way to start organizing is to pull everything out of the dresser and closet. That means clothes, shoes, hangers, toys (but only the ones stored in the dresser or closet — we’ll tackle all toys tomorrow!), keepsakes, and anything else hiding in those spaces. Taking everything out allows you to see what truly belongs there and what has just been taking up space.
Once everything is out, start sorting. Group similar items together — shirts in one pile, pants in another, jackets and shoes separated out. If two kids share a space, sort their things separately. Seeing everything laid out makes it much easier to decide what stays and what goes.
Make Decluttering Decisions
Now that everything is sorted, it’s time to decide what to keep, donate, or toss. Clothes and shoes that still fit and get worn regularly should stay. If an item is still in good condition but no longer needed, set it aside for donation. Anything too worn out, stained, or broken should be discarded.
If your child is old enough, they may be able to be a part of the decision-making process. Each child is different, so keep in mind that some kids may want to keep everything, regardless of age; however, it’s important to teach them that decluttering is a good thing!
There’s no point in keeping clothes they don’t like to wear or toys they never play with. If you’re unsure about an item, ask yourself when it was last used, if it still serves a purpose, or if someone else would benefit from it more. If you have younger children or plan for future kids, store hand-me-downs in labeled bins by size so they’re easy to find when needed.
Clean Before Putting Everything Back
Now that the dresser and closet are empty, take the opportunity to clean. Wipe down shelves, inside drawers, and the outside of the dresser. Dust high surfaces and work your way down. Vacuum or sweep the closet floor and underneath the dresser — move it if needed! A fresh, clean space makes a huge difference.
Organize with a System
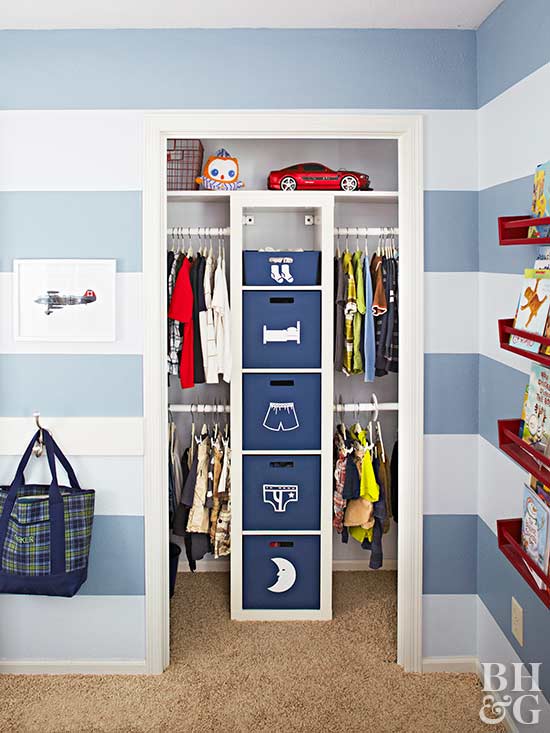
Now comes the fun part — putting everything back in a way that makes it easy to maintain. Hang formal and delicate clothing in the closet, keeping similar items together so they’re easy to find. Some people like to organize by color, which can make the space look even tidier. Check out this blog post, 10 Closet Hacks You Must Use, for additional tips on getting a closet looking clutter-free.
For the dresser, fold casual clothes neatly and dedicate each drawer to a category — one for t-shirts, another for shorts, another for pajamas. Using a simple folding method, like the file-fold technique, helps keep things visible and prevents messy drawers.
Shoes should have a designated home too. A shoe organizer works great, but if you don’t have one, use labeled bins or a closet shelf. The key is to keep them off the floor so they don’t add to the clutter.
Assign Homes for Everything Else
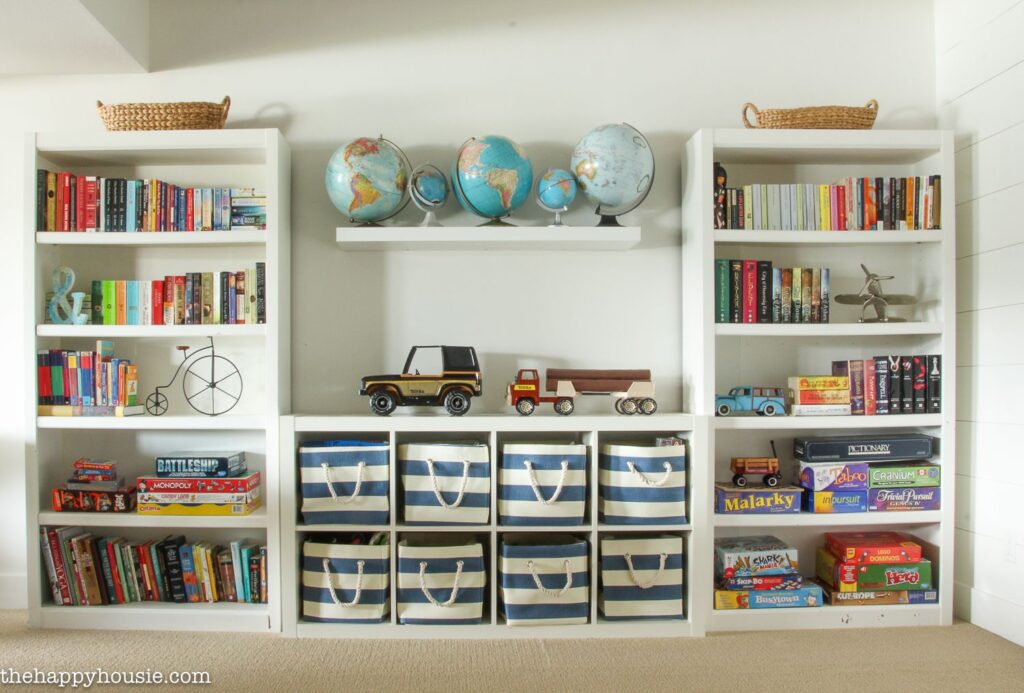
Toys, accessories, and keepsakes also need a place. Use bins or baskets to keep smaller items contained. A cube organizer further organizes these bins. Label them so your kids know where things go — this makes it easier for them to clean up on their own.
Finally, deal with anything that was in the closet or dresser but doesn’t actually belong there. Have your kids help return these items to their proper places throughout the house.
Keeping It Organized
Many people assume kids’ rooms are just destined to be messy, but that doesn’t have to be the case! Small, consistent habits go a long way. Encourage kids to put clothes away at the end of the day instead of leaving them on the floor. Every few months, do a quick declutter to remove anything they’ve outgrown or no longer use.
Teaching kids to organize their spaces when they’re young sets them up for success later in life. By taking the time to declutter now, you’re creating a space that’s easier to maintain and less stressful for everyone.
If you’re feeling overwhelmed or want expert help setting up simple, maintainable systems, Clutterless Home Solutions is here to help! We’ll do the hard work for you so your home can stay clutter-free without the stress.
Tomorrow, we tackle toys!


